How to Choose the Right Motor Mount in 2026?
Choosing the right motor mount in 2026 starts with the machine, not the catalog. A Mount Motor selection must account for motor weight, torque, operating speed, and the structure carrying the load. Consider vibration, heat, moisture, dust, and the space available around mounting points. Small details matter. A bracket that matches the bolt pattern may still transmit unwanted vibration or place stress on the frame. For pumps, fans, conveyors, and workshop equipment, those differences can affect alignment, noise, and service life. No single mount suits every installation.
Compare the mount’s rated load and vibration-isolation characteristics with the motor manufacturer’s specifications, rather than choosing by appearance alone. Check dimensions, temperature limits, fastener requirements, and whether the mount needs periodic inspection. Rubber mounts can reduce vibration, while rigid mounts may better preserve alignment in some applications. The right choice depends on the setup. Before installation, confirm that the base is level, the mounting surfaces are clean, and fasteners are tightened to specified values. Check twice. If vibration remains, inspect balance, alignment, and the machine itself; the mount may not be the cause. A tidy calculation can still miss real operating conditions, so review the manufacturer’s guidance and reassess after installation. This guide explores how to weigh compatibility, performance, maintenance, and cost before making a decision.
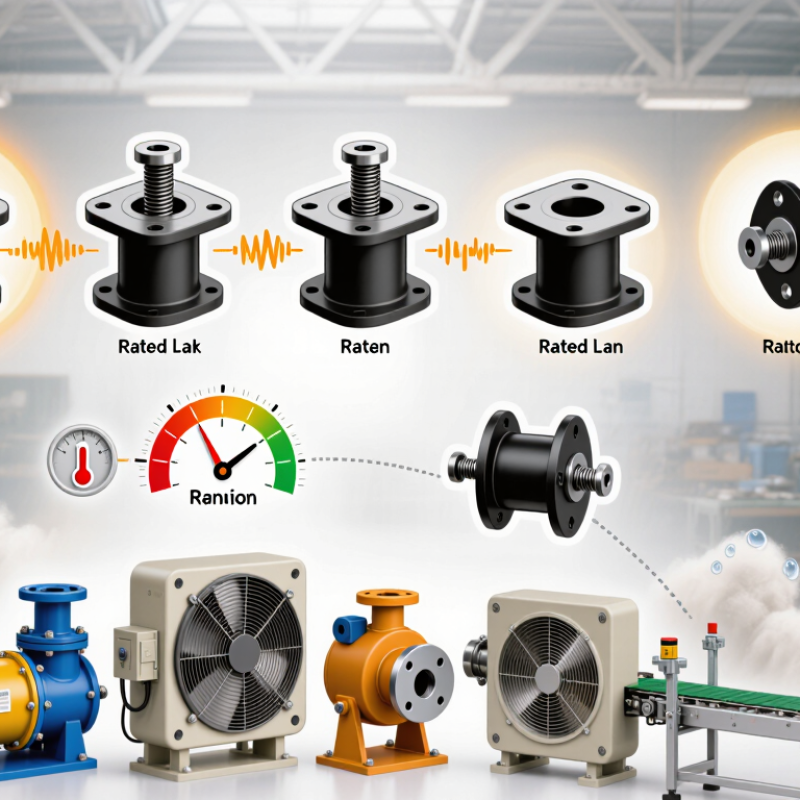
Understanding Motor Mount Functions and Main Types
A motor mount does more than hold a motor in place. It transfers torque and operating loads into the frame, controls movement, and can reduce vibration reaching nearby equipment. A loose or poorly matched mount may let the motor shift, strain couplings, or amplify resonance. Check the base, bolt pattern, load direction, speed range, and surrounding temperature before choosing one. Small details matter.
Mount types serve different needs. Rigid mounts provide firm alignment, but pass more vibration into the supporting structure. Elastomeric mounts add flexible isolation for lighter loads and moderate vibration. Spring isolators suit heavier machinery or lower-frequency vibration, though they need space and careful leveling. Hydraulic mounts combine fluid chambers with elastic material, often managing a wider range of vibration; active mounts use sensors and actuators, adding control complexity. The U.S. Department of Energy’s Improving Motor and Drive System Performance sourcebook reports that motor systems use about 68% of U.S. manufacturing electricity. That figure is not a mount-performance claim, but it shows why dependable motor operation matters. I would still inspect the actual machine. Catalog ratings cannot reveal every resonance in a real installation.
Identifying Vehicle Requirements, Loads, and Operating Conditions
How to Choose the Right Motor Mount in 2026?
Identifying Vehicle Requirements, Loads, and Operating Conditions
Start with the vehicle’s exact configuration, not just its model name. Engine type, transmission, drivetrain, and production year can change mount shape and stiffness. Check the vehicle service information for the correct position and fitment. A mount that bolts on may still place the engine incorrectly. That can strain nearby hoses, exhaust joints, or driveline components.
Next, consider the forces and conditions the mount must handle. Engine weight matters, but so do acceleration, braking, road vibration, and torque during gear changes. Note whether the vehicle carries heavy loads, drives rough roads, or spends long periods in stop-and-go traffic. Heat and contact with oil or coolant can also affect mount materials. Inspect surrounding brackets and fasteners; a worn mount is not always the only cause of movement. Small details matter. I once overlooked a bent bracket during an inspection, and it changed the fit entirely.
Tips: Compare the replacement with the removed mount, including bolt spacing and orientation. Check clearance with the engine supported safely, and follow service procedures. Avoid choosing a mount only because it feels stiffer; excess vibration can reach the cabin. Measure twice. If the vehicle’s history or symptoms are unclear, record them before selecting parts. A checklist helps, though it cannot capture every clunk or rough idle.
Comparing Mount Materials, Designs, and Vibration Control
How to Choose the Right Motor Mount in 2026?
Comparing Mount Materials, Designs, and Vibration Control
Choosing a motor mount means matching its material and shape to the engine, equipment, and working conditions. Rubber mounts absorb everyday vibration and allow some movement, but heat, oil, and age can make them crack or stiffen. Check for surface damage and uneven compression. Small details matter.
Hydraulic mounts use fluid chambers to reduce low-frequency shake, often noticeable at idle. They can feel smoother, but add complexity and may lose damping if a seal leaks. Stiffer mounts limit engine movement more directly, yet can send extra noise into the cabin or frame. Polyurethane offers another balance, though its hardness and shape affect comfort as much as the material itself. Trade-offs are real.
Compare expected loads, temperature, available space, and rated capacity before choosing a design. A mount suited to a compact vehicle may not work well on a vibrating pump or generator. Pay attention to vibration through the surrounding structure, too. A phone app may show rough trends, but it is not a calibrated test. There is no perfect mount. Sometimes a new mount feels harsh because the old one softened gradually, making the change more noticeable. Recheck alignment and fasteners after installation, and seek measured testing if vibration persists.
Checking Fitment, Specifications, and 2026 Compatibility
Choosing the right motor mount starts with exact vehicle identification, not appearance. Record the model year, engine code, transmission, and mount position. A front mount may look nearly identical to a rear mount, yet its stud angle or bracket offset can differ. Check the part number against a reliable fitment catalog, then compare bolt spacing, overall height, and connector type. Small details matter.
Compatibility is especially important for older vehicles. S&P Global Mobility reported an average U.S. light-vehicle age of 12.6 years in 2024, meaning many vehicles have passed through multiple model-year revisions. Confirm whether the mount is hydraulic, solid rubber, or electronically controlled; an electronic mount may require a matching connector and control system. Check the vehicle’s service information for installation torque, too. A mount that fits physically can still transmit excess vibration if tightened incorrectly.
Do not rely on a photo alone. Catalog listings can be imperfect, and “fits this model” may conceal engine or production-date limits. Compare the original mount’s shape and markings before removal, and note any cracked brackets or stretched hardware. If the listed specifications conflict with the vehicle identification number, pause and verify with a qualified parts specialist. Annoying, but safer.
Treat every item as a required verification before purchase. Confirm the vehicle’s year, make, model, engine, transmission, and mount position, then compare the part’s dimensions, bolt pattern, load rating, and clearance against reliable vehicle-specific service information. There are no universal motor-mount dimensions or torque specifications.
Selecting and Installing the Right Motor Mount Safely
A motor mount does more than hold an engine in place. It limits vibration while allowing controlled movement under load. Before choosing one, check the vehicle’s year, engine configuration, mount position, and whether the original design uses rubber or a hydraulic element. Compare the part dimensions and mounting points with the removed mount. A listing that says “fits” is not enough. Small differences matter.
Inspect nearby mounts and brackets, too. A failed mount can leave the engine sitting at an angle, making a replacement harder to align. Look for cracked rubber, leaking fluid, bent brackets, or stretched wiring and hoses. Use the vehicle service information to confirm the correct fasteners and torque values. Don’t guess. A mount that feels tight may still be incorrectly loaded, and excessive tightening can damage threads or the bracket.
Installation needs stable support and patience. Work on level ground, secure the vehicle, and support the engine with suitable equipment before removing a mount. Never rely on a jack alone. Keep hands clear of pinch points, and raise the engine only enough to align the holes. If the mount resists, stop and check the position rather than forcing the bolts. Even careful work can miss a detail; recheck clearances, fastener torque, and hose routing before starting the engine. A brief idle test can reveal unusual vibration or contact, but it does not replace a proper inspection.